So today was the big day!
I've fallen back in love with the print room, it always seems a lot more process in my head but i managed to prepare my screen so quickly with the help of wendy. i've never printed onto material before so she helped me to prepare my screen and it was ready in no time.
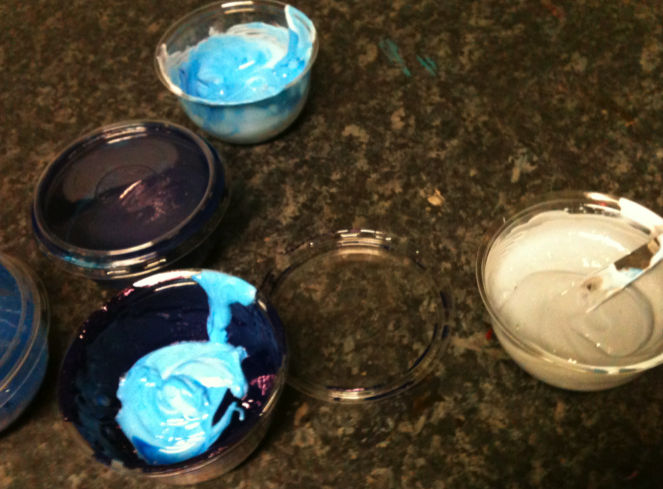
Mixing the colour was SO confusing as i was working from an image of a material on screen that would have printed out a different colour digitally so after a lot of questions to the mac guys i decided to mix a colour that best represented the one on the photo then work backwards... match the screen printed colour with a pantone swatch then apply this to my designs.
Mixing colours
Testing on fabric
FINALLY!
Screen prints for outer packaging, incense and henna... also created the tags.
Next was the foiling onto the fabric, i was advised to iron my fabric first to seal the paint if not the foil could stick to everything and that would be pretty darn disastrous. I tried a few samples that worked well then crossed my fingers and went for it... and yes of course they were right it worked yey!
Had a bit of difficulty with the glue used for foiling as it dried so quickly on my screen i had to re wash it after every print that took quite a bit of time.
Showing posts with label Print. Show all posts
Thursday, 18 November 2010
Tuesday, 16 November 2010
Foiling
The foiling was really easy, i didn't realise how quick the process of heat transferring was, i printed out a phew samples of my brand along with a selection of fonts to see which worked best. I also tried both holographic and silver foil. I used both 12pt and 14pt font as these were more readable and the foiling worked really well with these sizes i think the thinner fonts worked better as it was easier to tell where the foil has missed on a thicker typeface. .. what i need to take into account is that unless it is on an laserprinter it will not stick to the ink, if i want it on any other stock or print then i will have to screenprint the glue first before foiling.
Tuesday, 2 November 2010
Materials
As it is a limited edition pack that will be a one off print at such a small number, it allows me to design using more expensive materials than just paper and card. I really like the packaging made out of wood and this keeps with the organic feel of Fever Ray, also i like the idea of printing onto cloth to package the items within the pack, as it will give it a very personal, tactile feel.
I have collected a few wooden boxes and scraps of material with which i will use for tester pieces to show how they are effected by print and what processes i will need to use.
-DIE CUTTING/ LASER CUTTING THE WOOD
-Branding the wood with an iron brand
-Embossing the wood - if it is soft wood
-Wood will obviously not fit through a digital printer so would have to be screen printed onto
-Screen printing onto sample materials
-seeing how materials can be used in packaging
-could i emboss the material? similar to a book cover
-collect samples
-Screen printing onto sample materials
-seeing how materials can be used in packaging
-could i emboss the material? similar to a book cover
-collect samples
Friday, 22 October 2010
Embossing
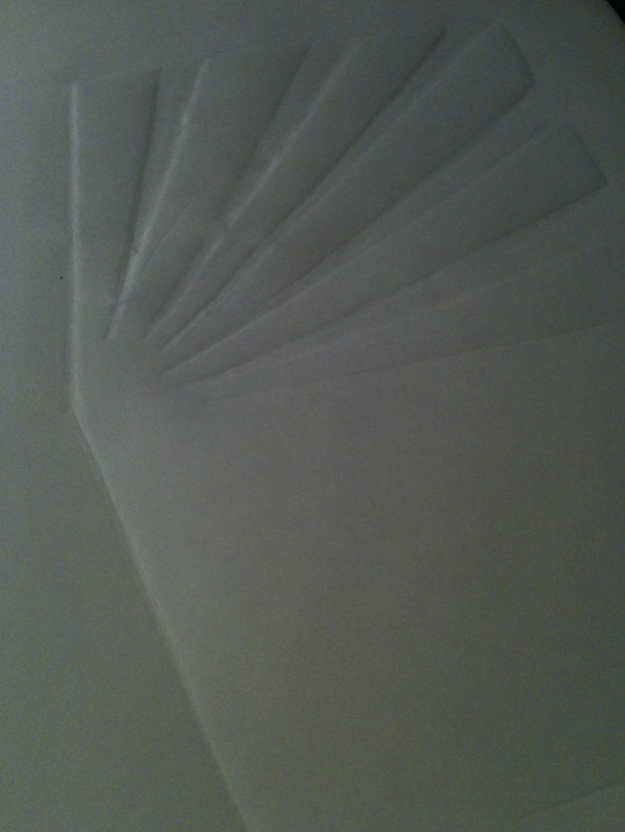
Today Lorenzo showed us how to create embossed materials at home, i found the quick tutorial really helpful as i didn't realise how simple it was to create. Using imagery connecting to my project i tried the process out for myself.
Embossing laser beams!
The embossed image isn't as neat as i would have liked it but for a first go i think its pretty good, its difficult to emboss around a complex pattern so if i were to use this process i would try it with a simpler shape. I would like to try this further on in my investigation as i think it would create a beautiful quality to my work and add those higher quality features that i need for a special edition packaging.
Subscribe to:
Posts (Atom)